Telescopes: A guide for beginners
- astrogambit
- Aug 27, 2020
- 9 min read
What’s the best telescope for beginners?
If I had a dollar for every time I answered that question, I’d be revving my Ferrari 488 with the optional ceramic brake package. To be fair, there is an overwhelming number of scopes out there and the most common response you’d receive is an annoyingly patronizing “IT DEPENDS!!”
Astronomy is a very engaging and gripping hobby. Once you get into it, there’s no talking you out. The first time you see the likes of Saturn through a telescope will change your perspective about everything in life. It makes you realize just how many things are out there and how tiny and insignificant we really are.
Buying that first telescope is an all important step in what will turn into a life-long obsession. With the market flooded with different types of scopes, here’s my 2 cents (well, a little more than that… It’s a big one) on what you should be looking for. Make sure you read the top tips at the very end of the blog before you buy the scope.
Things to know in a telescope
Before you break open that piggy bank to buy a telescope, learn the basics of a telescope and then take a call. The following points might guide you in the right direction.
Aperture
Perhaps the most important parameter to consider in order to view through a telescope, the aperture is the diameter of the light gathering element (a lens or a mirror). The bigger the aperture, the more stuff you can see because of its higher light gathering capacity. This means, with a higher aperture scope, you’ll be able to see fainter deep space objects (a.k.a DSOs) more clearly compared to a smaller aperture scope.
Ease of use/ Portability
“The best telescope is the one you will use the most.”
- A very famous astronomer (I think)
It holds true most of the time and so it’s very important to choose a telescope that you would be able to handle without too much fuss. If you’re enticed by a really high aperture scope, usually referred to as The Aperture Fever, you end up with a massive scope that will sit in a corner gathering dust and you’ll have a bad back trying to move it around. More often than not, people tragically lose interest in the hobby because of the bulk of their telescope.
Also, if you live in a highly light polluted city area, you’d sometimes want to drive a few miles away from civilization to get to a clearer sky. This means that the telescope has to be portable and fit into your car easily. So, make sure you don’t buy a grizzly that you need to wrestle with, before setting up.
Mounts
Beginners can consider 2 main types of mounts for their scopes.
1. Alt-Az mount: Short for altitude n azimuth mount, this is the simpler of the 2 mounts.
The movement is taken care through horizontal rotation (the azimuth) and vertical inclination (the altitude). Alt-Az mounts come in 3 further types: table top, tripod and Dobsonian.
A table-top usually pairs with a small size reflector (< 5” aperture). The tripod is perfect for refractors as they’re lightweight. The Dobsonian is basically a rotating stool on which a heavy reflector telescope (8” aperture or greater) can swivel about.
2. German Equatorial mount: Slightly more complicated, this handles along the Right Ascension and the Declination axes. This is sturdier however and is a popular weapon of choice among most professional astrophotographers.
While it’s very interesting to learn about these mounts, for a beginner, I’d strongly recommend to use an alt-az mounted scope because of its ease of use.
All the above-mentioned mounts come in manually controlled and computer controlled options.
Focal Length
Back to discussing the optics, the focal length is simply the distance at which the primary lens/mirror focuses the light. With the use of the same eyepiece, the higher the focal length, the higher will be the magnification of the telescope.
Magnification = (FL of Telescope)/(FL of Eyepiece)
A longer focal length indeed provides a good mag and hence a very good view of brighter objects. Magnification can sometimes be overrated. It doesn’t necessarily mean that an object will appear more clearly. In fact, a high magnification setup will have a lower field of view and hence less light gets gathered. To break it down, higher the magnification, lower will be the brightness of the object. Breaking it down even further, things look bigger, but duller.
Budget
Don’t really have to elaborate on this. Treat astronomy as a hobby initially and spend responsibly. Eventually after using it for a while, you’ll want to expand your collection of accessories like eyepieces, books, finder scopes, filters and many more. So save up. More to follow later on the best scopes for the budget.
With this knowledge, let's understand the types of telescopes.
Types of Telescopes
Broadly classifying, there are 3 types of telescopes:
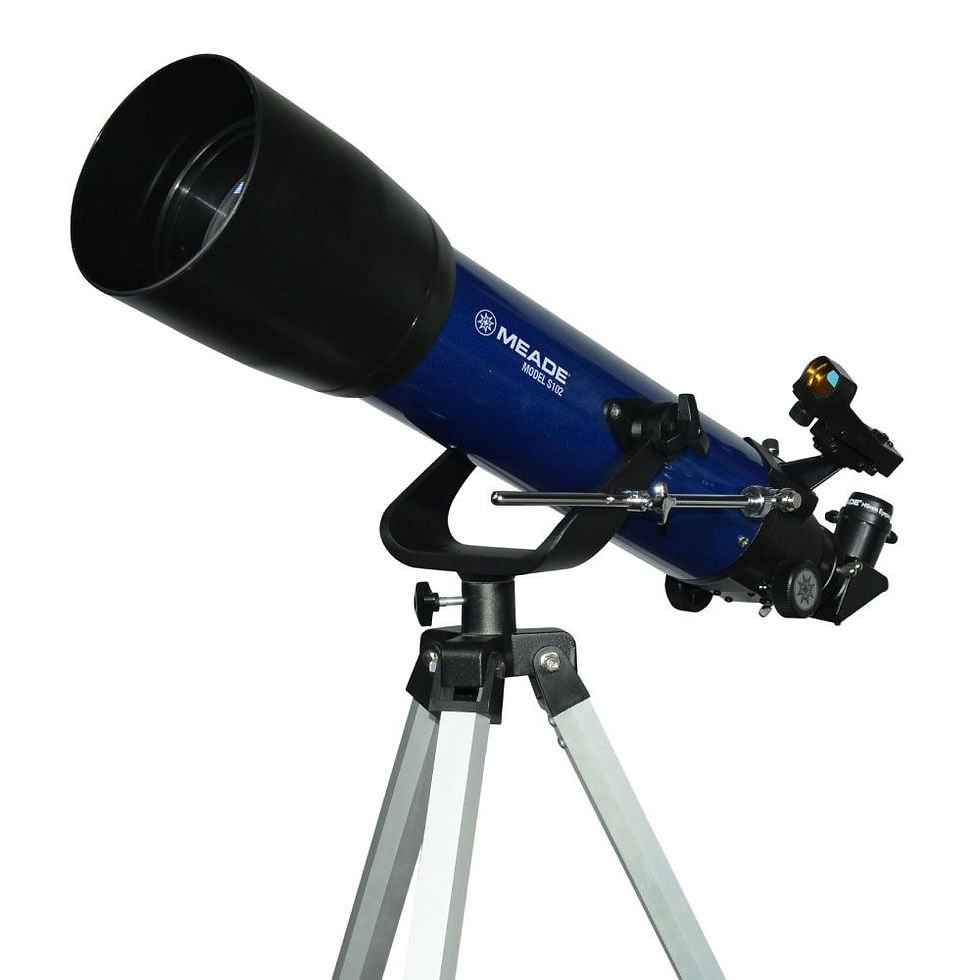
1. Refractors
When you think of a telescope, this is basically what comes to the mind. A long tube with a bigger lens at the front (the objective lens) and a smaller lens at the rear to look into (the eyepiece). The lens being the element, bends the light to get to focus at the exact point at the eyepiece. Hence the name, Refractor.

Light path in a Refractor telescope
It’s difficult to refract all wavelengths of primary light (Red, blue and green) into the same focal plane. Hence, a regular “achromatic” refractor telescope will suffer from chromatic aberration. To break it down, a bluish halo will appear around brighter objects in the sky. Breaking it down even further, bluey gooey circle around star. It’s not a deal-breaker to be honest and for the price, it’s a good scope to buy.
If it does bother you though, there are more expensive refractors called the ED (Extra-low Dispersion) scopes which use 2 or more Fluorite lenses to lower the aberration. An more expensive alternative would be the Apochromatic refractors which use triplet or quadruplet element lenses to completely nullify the aberration. ED and Apochromatic refractors are more popular in the Astrophotography scene. For regular viewing, an achromatic refractor is a very good choice.
Pros
High contrast and sharp views.
Portable and lightweight.
Easy to setup.
Requires little to no maintenance.
Cons
Lower aperture.
Higher price
Chromatic aberration
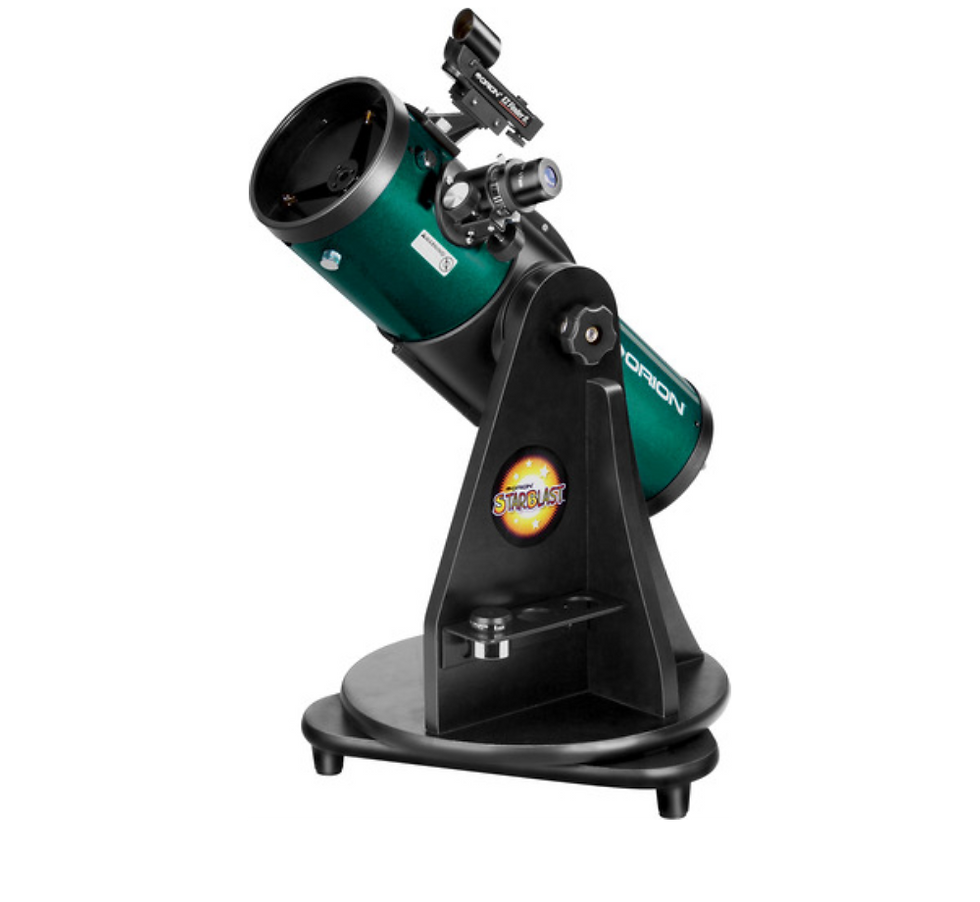
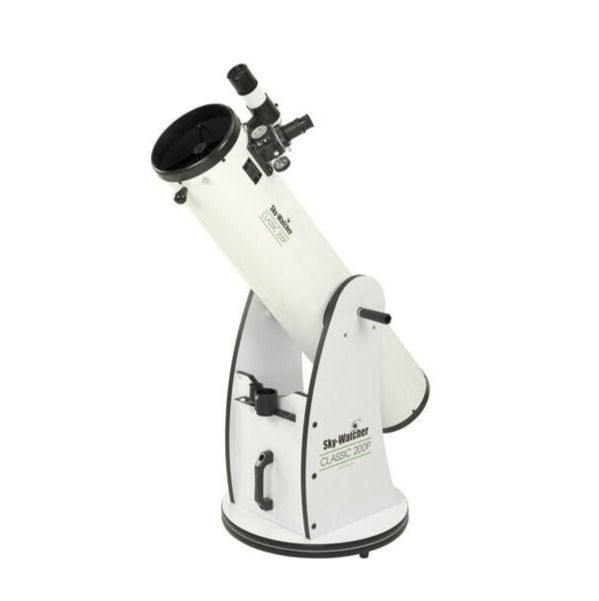
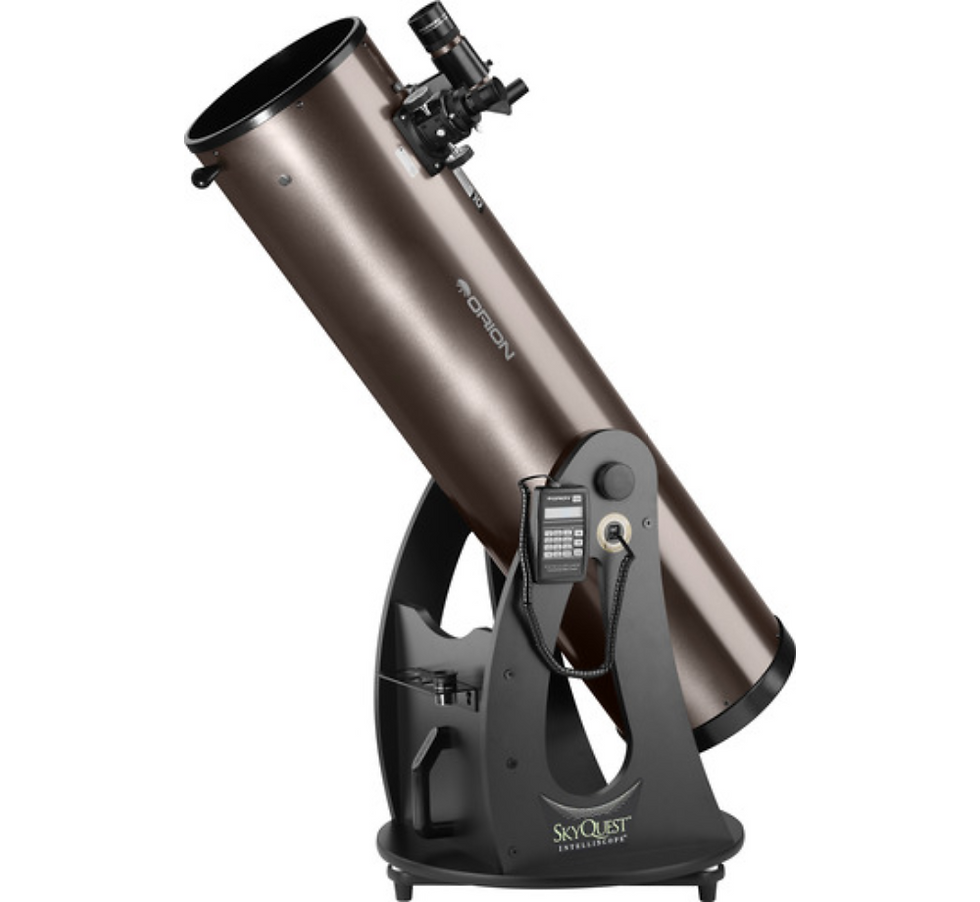
2. Reflectors (a.k.a Newtonian reflectors)
As you might’ve guessed, this works on reflection and uses mirrors instead of lenses for gathering light. However, the viewing is carried out through an eyepiece itself. The big primary mirror gathers the light and converges it onto a secondary mirror which in turn projects the image onto the eyepiece. The view from a reflector scope is inverted. But who cares really... while watching the sky, that shouldn’t make a difference.
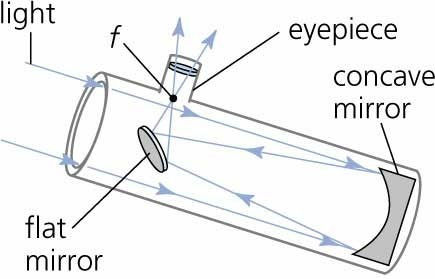
Light path through a Newtonian Reflector telescope
Reflectors are considered the best value for the money, although they’re considerably bulkier compared to refractors and also require collimation (alignment of the primary and secondary mirrors) before viewing.
Higher aperture reflectors, especially, are excellent value for the money and I’d recommend this the most for any amateur astronomer.
Pros
Higher apertures mean better views of DSOs
Relatively lower price
No chromatic aberration
Dobsonian reflectors are quite tanky and can handle more abuse comparatively.
Cons
Heavier due to bigger apertures
Collimation has to be done before every viewing session
Bigger aperture scopes (10” aperture or higher) need a cooling fan to get rid of thermal currents within the tube
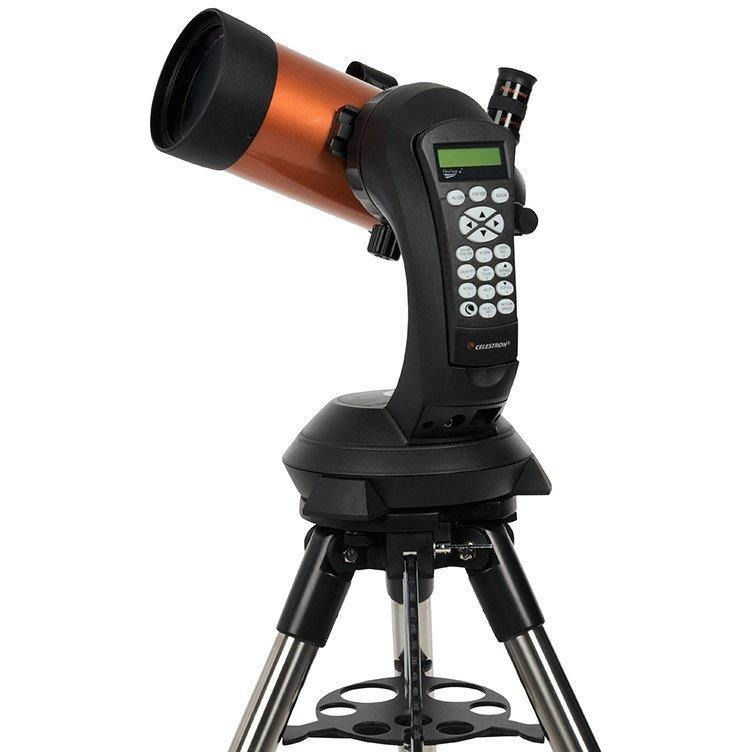
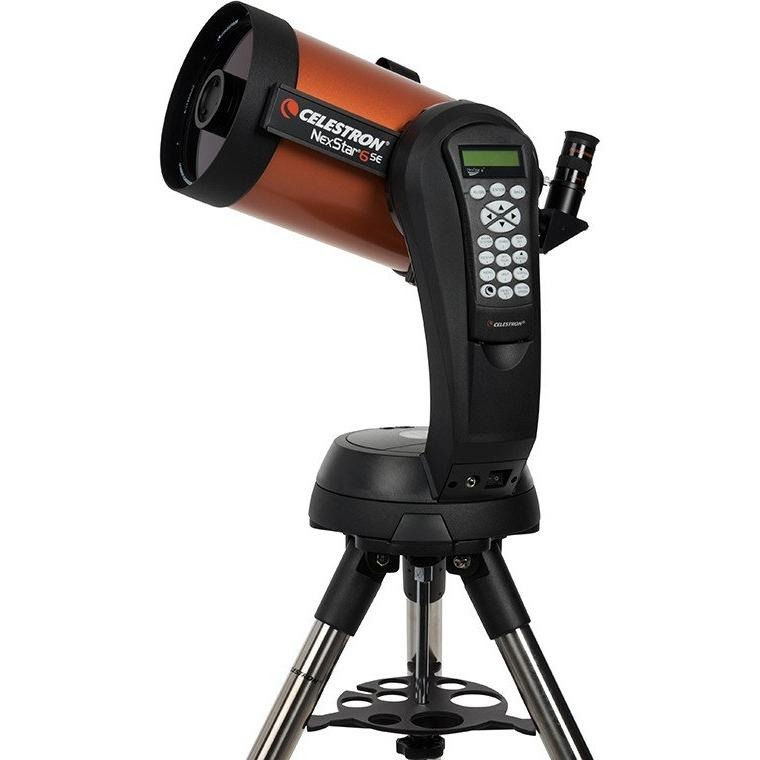
3. Catadioptric (pr: cat–a–die–op–trick)
Catadioptrics are essentially a combination of the refractor and the reflector scopes. A primary mirror gathers the light (after passing through a corrector plate) and the secondary mirror receives it before projecting it onto an axially mounted eyepiece. As you can see in the figure below, the path traversed by light is over two times the length of the scope. For this reason, it will have a much higher focal length packaged into a small scope.
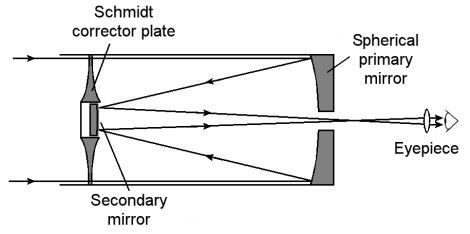
Light path through an SCT
For beginners, catadioptrics come in 2 options: The Schmidt Cassegrain telescope (SCT) and the Maksutov Cassegrain Telescope (Mak). The differences between the two lie in the construction and positioning of the elements. The SCT is generally considered to be a better option to the Mak.
Pros
Very good all round telescope – for planetary viewing, DSO viewing and astrophotography
Compact and portable
Excellent optical performance without any aberrations
Collimation holds longer (holds good for a year) compared to regular Newtonian reflectors
Cons
Very expensive
Can turn very heavy with increase in aperture
Central obstruction is higher than Newtonian reflectors
Higher focal length means a narrow field of view – so, will need wide angle eyepieces
There are more varieties in Catadioptrics such as Schmidt Astrograph and Schmidt Newtonian telescopes. These are more suited for astrophotography and requires an experienced hand to operate and maintain. So I’ll move on without explaining much about them.
Best Scopes For the Budget in 2020
Picture a day shopping for groceries at Walmart. You see a lucrative sign that says “TELESCOPE FOR SALE. $100 ONLY”. You pick the telescope package up and it says it provides a 100x magnification. You’re intrigued by it. It sounds like a great gift idea for your kid or a young friend who’d gladly get into the hobby. DON’T! Drop the package, turn around, run a 100 yards and never look back! That’s a really crappy scope. Gift it to someone you really hate!
Here's a list of telescopes you could buy though.
(All the mentioned scopes have links to direct you to the manufacturer's webpage.)
Christmas/ Birthday Gift (<$100)
At this budget, there are a few options that I’ve seen through at star parties and the views were surprisingly good. That’s not just telescopes. Binoculars are very good options as well.
(Alternative: Orion GoScope III)

Key features:
Aperture: 70 mm; Focal Length: 400 mm; Focal ratio: F/5.7;
(Alternative: Celestron FirstScope 76 mm)
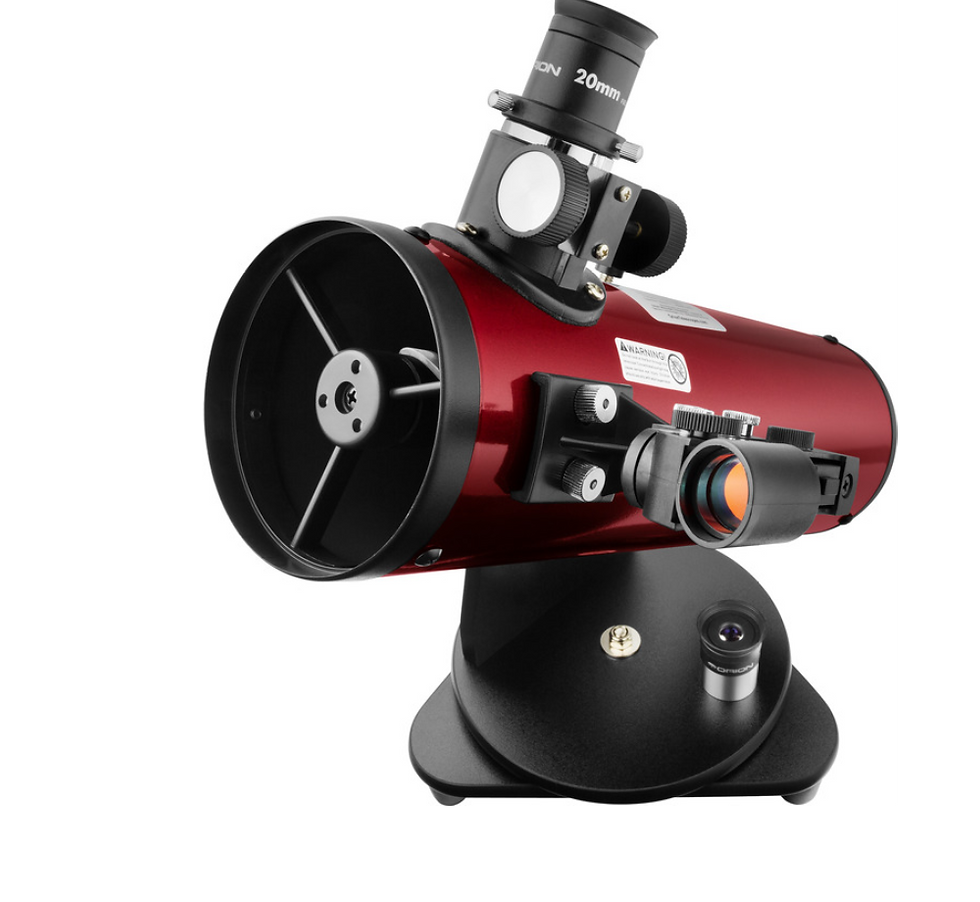
Key features:
Aperture: 100 mm; Focal Length: 400 mm; Focal ratio: F/4; 1.25” Focuser
(Alternative: Orion Scenix 7x50 Binoculars)
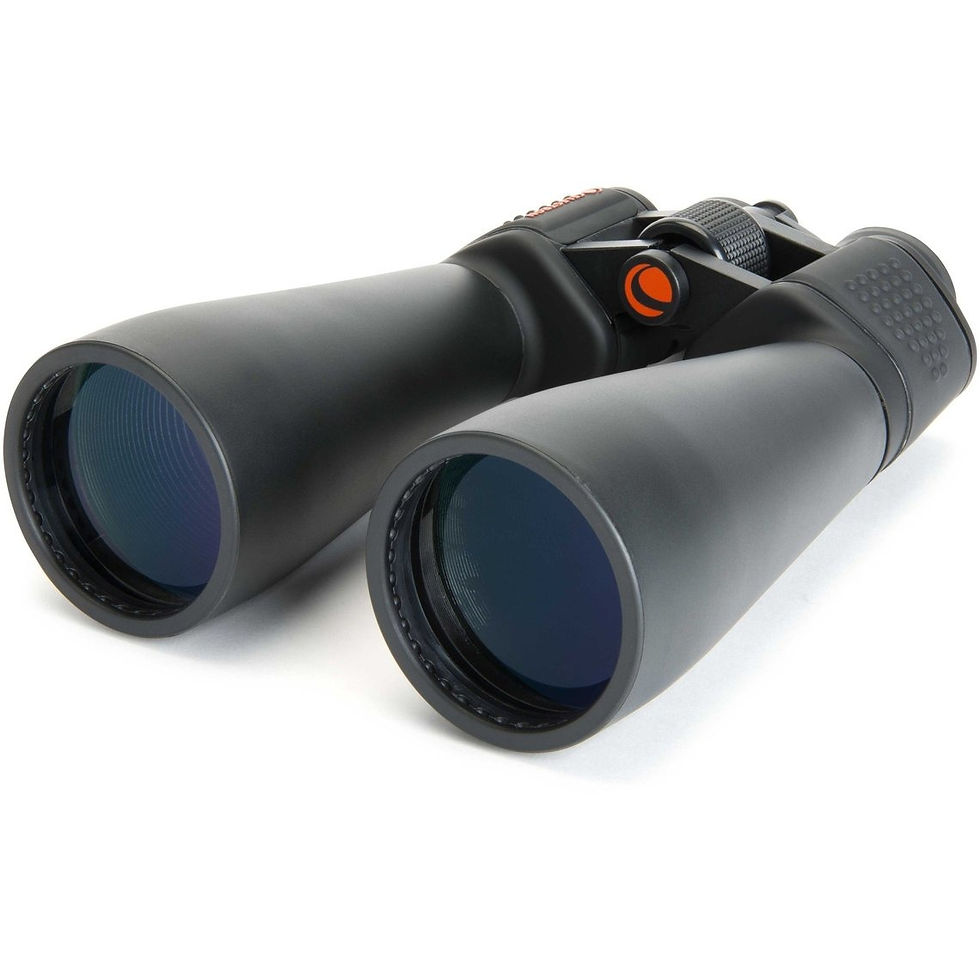
Key features:
Aperture: 70 mm; Mag: 15x
Getting Started ($200 - $300)
This is the price range for the most popular Achromatic refractors. Also, for a few entry level Newtonian reflectors.
(Alternatives: Celestron StarSense Explorer Refractor, Explore Scientific FirstLight Doublet Refractor)
Key features:
Aperture: 102 mm; Focal Length: 600 mm; Focal ratio: F/5.9;
Key features:
Aperture: 114 mm; Focal Length: 450 mm; Focal ratio: F/4; 1.25” Focuser
Getting Started II ($300 - $500)
Slightly more expensive alternatives of the previous segment, these scopes have an edge in optical performance over the previously mentioned telescopes. At this price range, you can find really good Dobsonian telescopes
(Alternatives: Orion XT8, Apertura AD8, Zhumell Z8)
Key features:
Aperture: 203 mm; Focal Length: 1200 mm; Focal ratio: F/5.9; 2" Crayford Focuser
(Alternative: Meade StarNavigator NG Maksutov)
Key features:
Aperture: 102 mm; Focal Length: 1325 mm; Focal ratio: F/13;
Well, you know, I got some money ($500 - $800)
This bracket features some seriously cool scopes for serious astronomers.
(Alternatives: Orion XT10, Orion XT8i Intelliscope, Aperture AD10, Zhumell Z10)

Key features:
Aperture: 250 mm; Focal Length: 1250 mm; Focal ratio: F/5; 2" Crayford Focuser
Unavailable on Amazon
Key features:
Aperture: 150 mm; Focal Length: 1500 mm; Focal ratio: F/10;
Hey, I got a little more ($800 - $1000)
At this price range, you can find computerized 10” dobs and bigger SCTs too.
(Alternative: Explore Scientific Gen II - 10" Truss Tube Dob)
Key features:
Aperture: 254mm; Focal Length: 1200 mm; Focal ratio: F/4.7; 2" Crayford Focuser
Unavailable on Amazon
WTH, I’m drowning in green paper (>1000)
Ahh now, save the cash up for accessories. I wouldn’t recommend a beginner to purchase an expensive piece of kit right away. But, if you think this is suitable for you, you’ll need to research deeper into your specific needs before investing into the scope. Check out ED refractor telescopes with good tracking mounts or even bigger computerized reflectors and SCTs.
Final Tips Before Going For That Purchase
If you missed it earlier, DO NOT buy an "off-the-shelf telescope" at a supermarket.
Don’t get hellbent on aperture size. There’s always a bigger telescope with someone else. Choose one that you can manage.
Join a local astronomy club and attend star parties. Ask as many questions as can you can and get a clear picture of what you want. However introverted they might be, astronomers are usually very eager to share their scopes and knowledge. It might sometimes be difficult to shut us up though. So beware!
Some might say that a Newt reflector takes time to setup and that’s an issue. Codswallop! The collimation process takes about 10 minutes the first couple of times. Once you get the hang of it, it’ll be done in less than 2.
Explore accessories (especially eyepieces) well. A good quality eyepiece will bring out a really good image of any celestial object.
Stargazing can be frustrating sometimes. So, take your time and learn the skies well. The sky isn't going anywhere.
Don't buy a Go-to scope JUST to make your stargazing experience easier. We don't choose a hobby to make life easy for ourselves... There's a sense of gratification and accomplishment when you physically locate celestial objects.
Lastly, and perhaps most importantly, spend a lot of time watching and learning the night sky.
I wish you a great experience with your new telescope. Clear Skies!

Comments